

Windows 11 no longer includes an official way to install every Android app. Microsoft retired its Android subsystem on March 5, 2025. This guide shows how to install Android apps on Windows 11 using current, safer options.
What Running Android Apps on Windows 11 Means Now
Windows once ran mobile apps through Windows Subsystem for Android, known as WSA. Amazon Appstore supplied its limited app catalog.
Microsoft removed both products from the Microsoft Store after March 5, 2025. The company confirms the cutoff in its Windows mobile apps support notice.
The source guide uses a modified WSA package from 2021. It also changes SELinux enforcement with setenforce 0 and grants root access.
Those instructions no longer represent a supported Windows setup. They can also expose your Google account and Android data to an unknown package maintainer.
Your practical choices now split into two groups. Google Play Games on PC handles supported games. A trusted Android emulator runs broader app catalogs and APK files.
Requirements Before You Install Android Apps on Windows 11
Check your hardware before downloading anything. Virtualization causes most setup failures, and low memory causes most performance complaints.
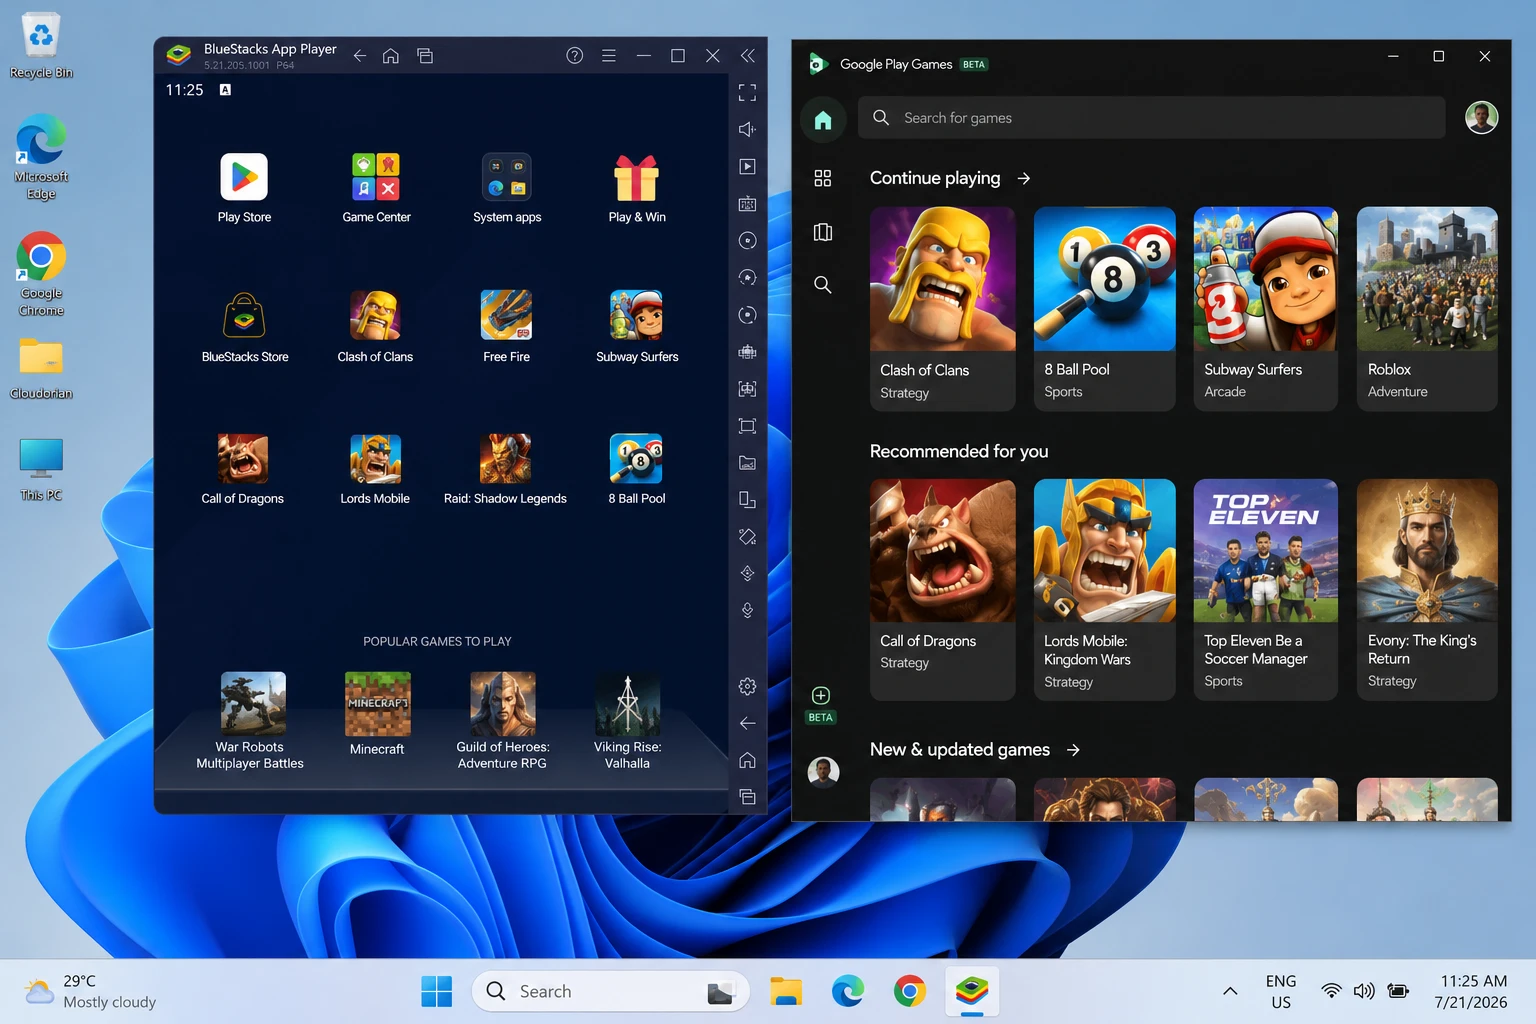
Press Ctrl + Shift + Esc, open Performance, then select CPU. Find Virtualization near the lower-right corner.
A value of Enabled means the firmware setting works. A value of Disabled means you must change Intel VT-x or AMD-V inside UEFI.
Open Settings > System > Recovery > Advanced startup > Restart now. Choose Troubleshoot > Advanced options > UEFI Firmware Settings > Restart.
Firmware labels vary across PC brands. Look for Intel Virtualization Technology, VT-x, SVM Mode, or AMD-V.
For broad app support, BlueStacks 5 lists Windows 7 or newer, 4GB RAM, and 5GB free storage. Its official requirements page also requires administrator access and current graphics drivers.
Treat those figures as a startup floor. I recommend Windows 11, 8GB RAM, four CPU cores, and 15GB free SSD space.
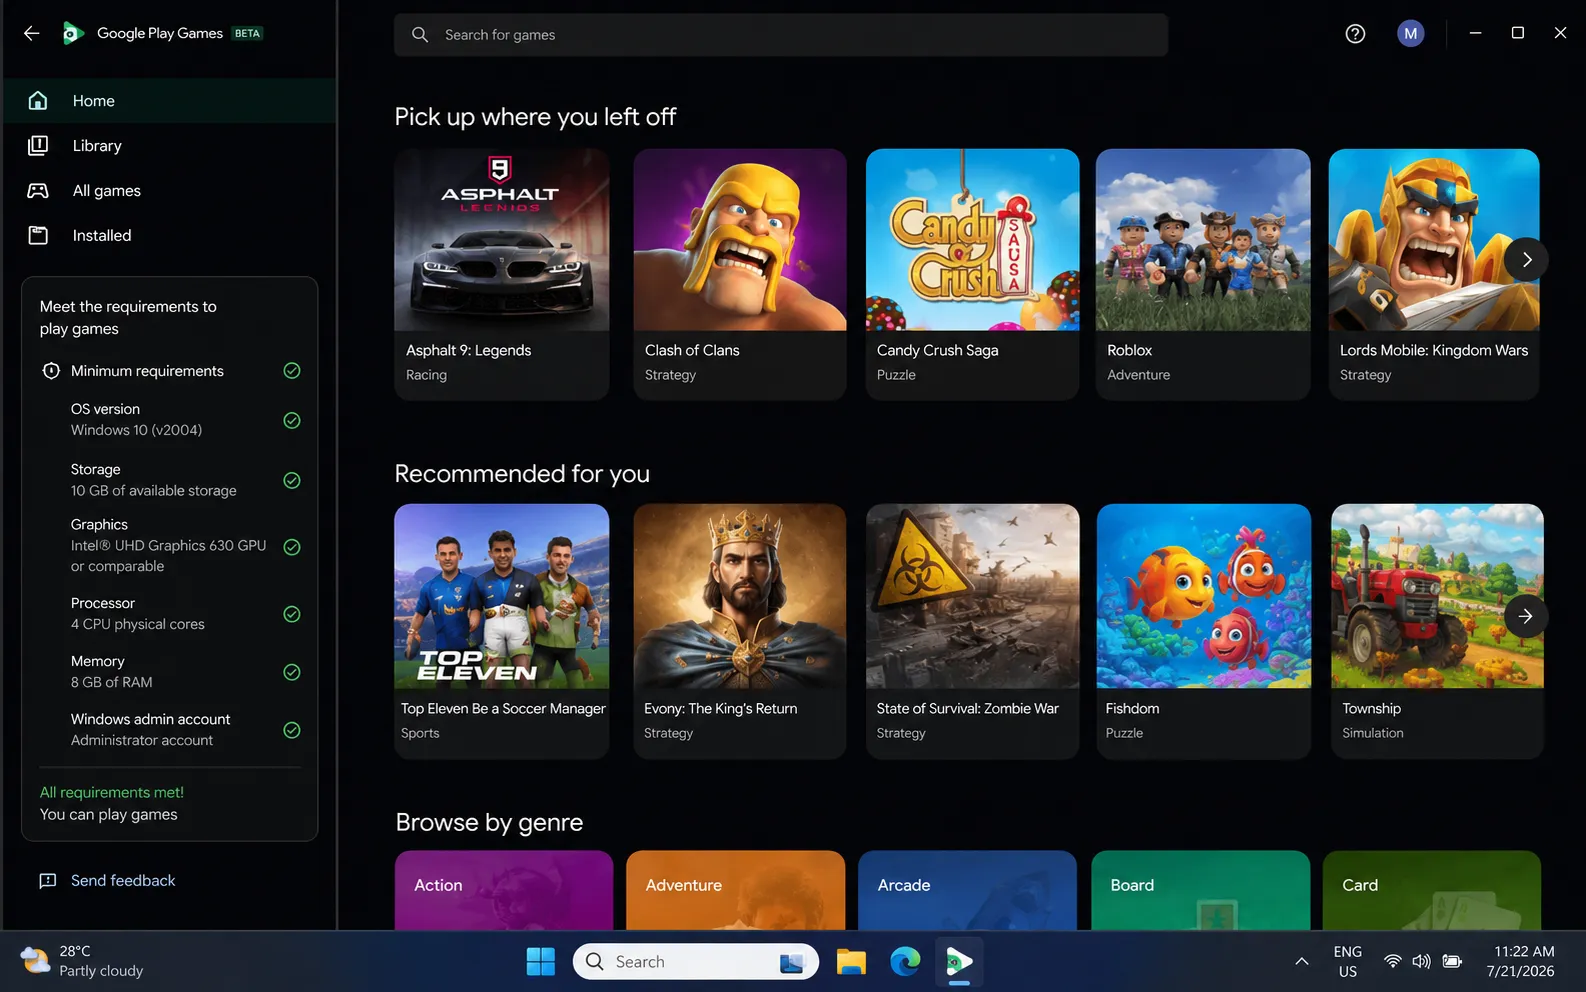
Google sets a higher floor for its gaming client. Its Google Play Games PC requirements call for 8GB RAM and 10GB SSD space.
Google also requires four physical CPU cores, hardware virtualization, and an Intel UHD Graphics 630-class GPU. You need a Windows administrator account.
Do you only need Android games with cloud saves? Pick Google Play Games on PC and avoid a full emulator.
Choose the Right Android App Method
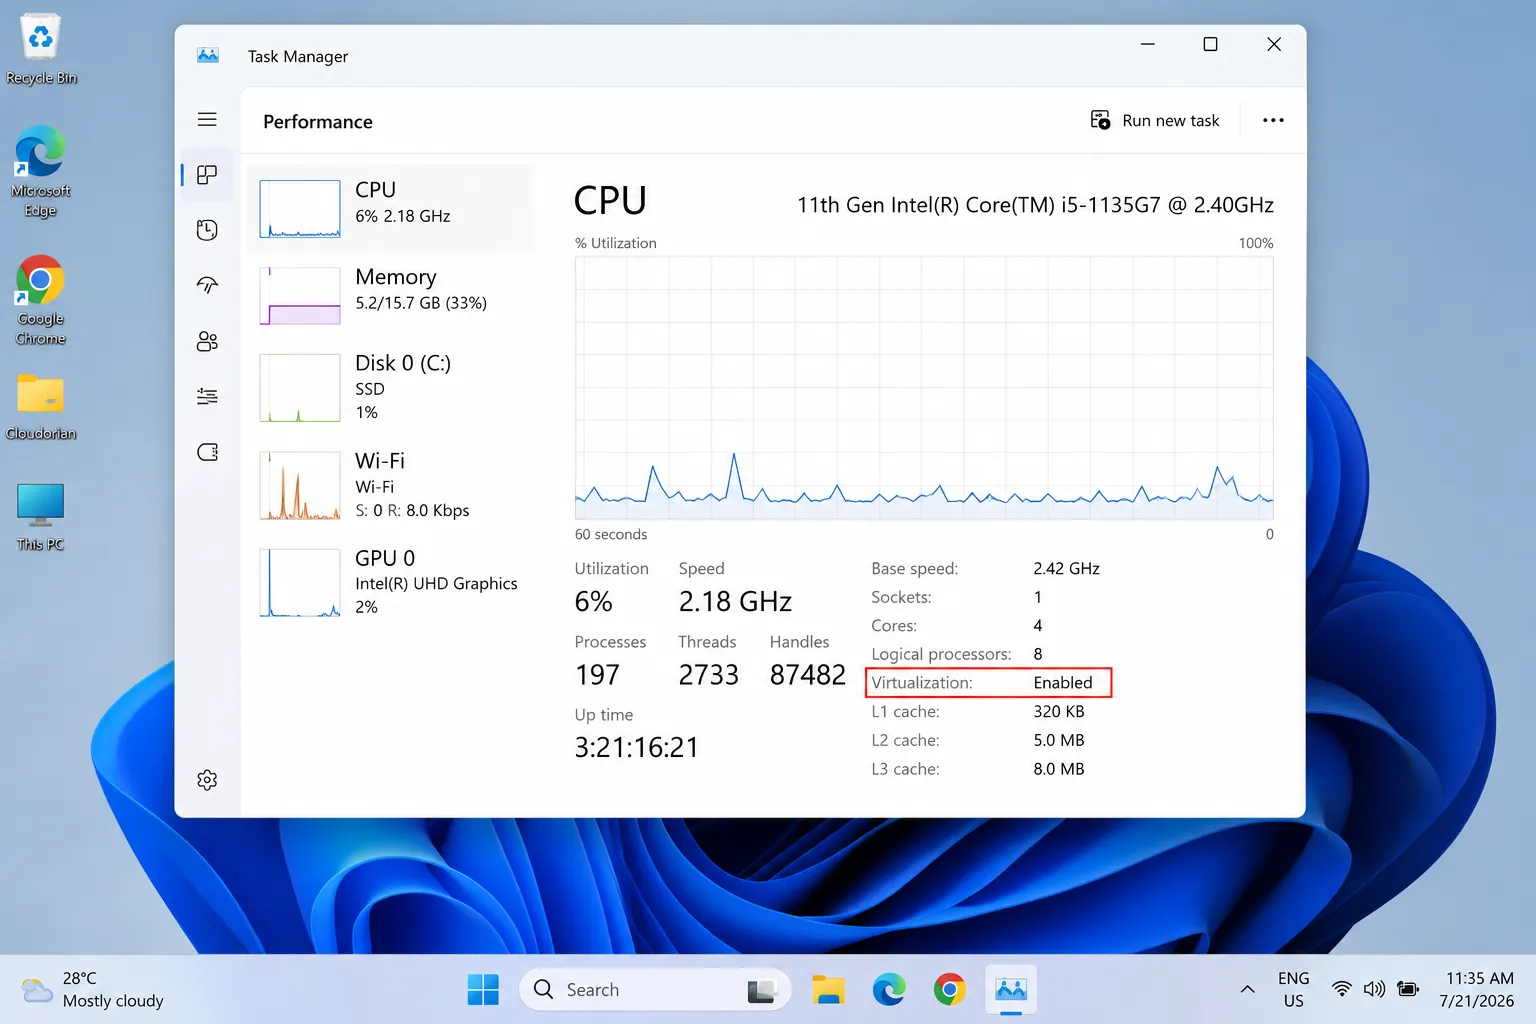
The best method depends on the app, not the Windows logo. Start with the narrowest tool that meets your goal.
| Method | Best use | Google Play access | APK files | Main limitation |
|---|---|---|---|---|
| Google Play Games on PC | Supported Android games | Yes | No | Catalog includes games only |
| BlueStacks 5 | Games and many standard apps | Yes | Yes | Uses more memory and shows promotions |
| Phone Link | Using apps from a supported phone | Uses the phone | No | Requires a compatible Android device |
| Community WSA build | Native-style windows and testing | Package-dependent | Yes | No Microsoft support or trusted update path |
BlueStacks offers the simplest route for general Android apps. It includes Play Store access and an APK installer without terminal commands.
Google Play Games offers the cleaner route for supported titles. It syncs achievements, game progress, and Play Points through your Google account.
Phone Link streams supported phone apps instead of installing them on your PC. Cloudorian’s Android and Windows File Explorer guide covers the related phone pairing process.
Community WSA packages can run, but they depend on unofficial files. Skip them for banking, password managers, work accounts, and private messages.
How to Install Android Apps on Windows 11
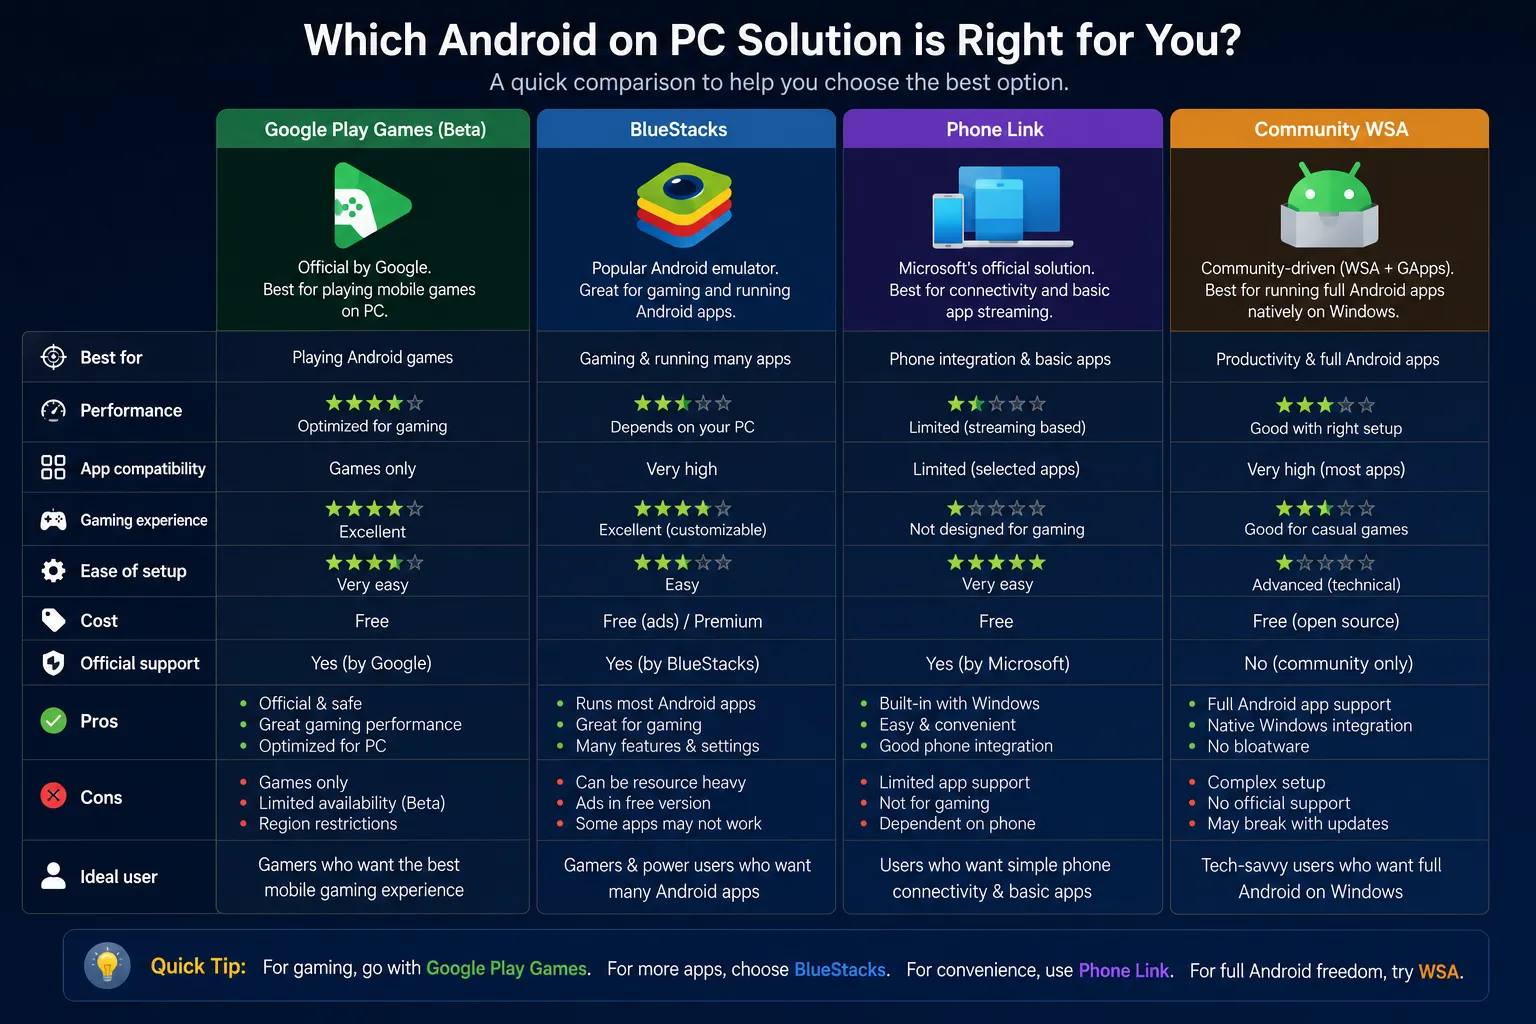
Use BlueStacks when you need regular apps, APK support, or a wide game catalog. Download the installer from the publisher, not a download mirror.
Install apps through Google Play in BlueStacks
- Step 1. Confirm virtualization works.Open Task Manager > Performance > CPU and confirm Virtualization: Enabled. Restart after changing any UEFI setting.
- Step 2. Download BlueStacks 5.Visit the official BlueStacks 5 page. Save the Windows installer to your Downloads folder.
- Step 3. Check the installer signature.Right-click the file, select Properties > Digital Signatures, and confirm the signer identifies BlueStack Systems, Inc.
- Step 4. Install the app player.Run the installer as an administrator. Choose an SSD location when the installer offers a storage choice.
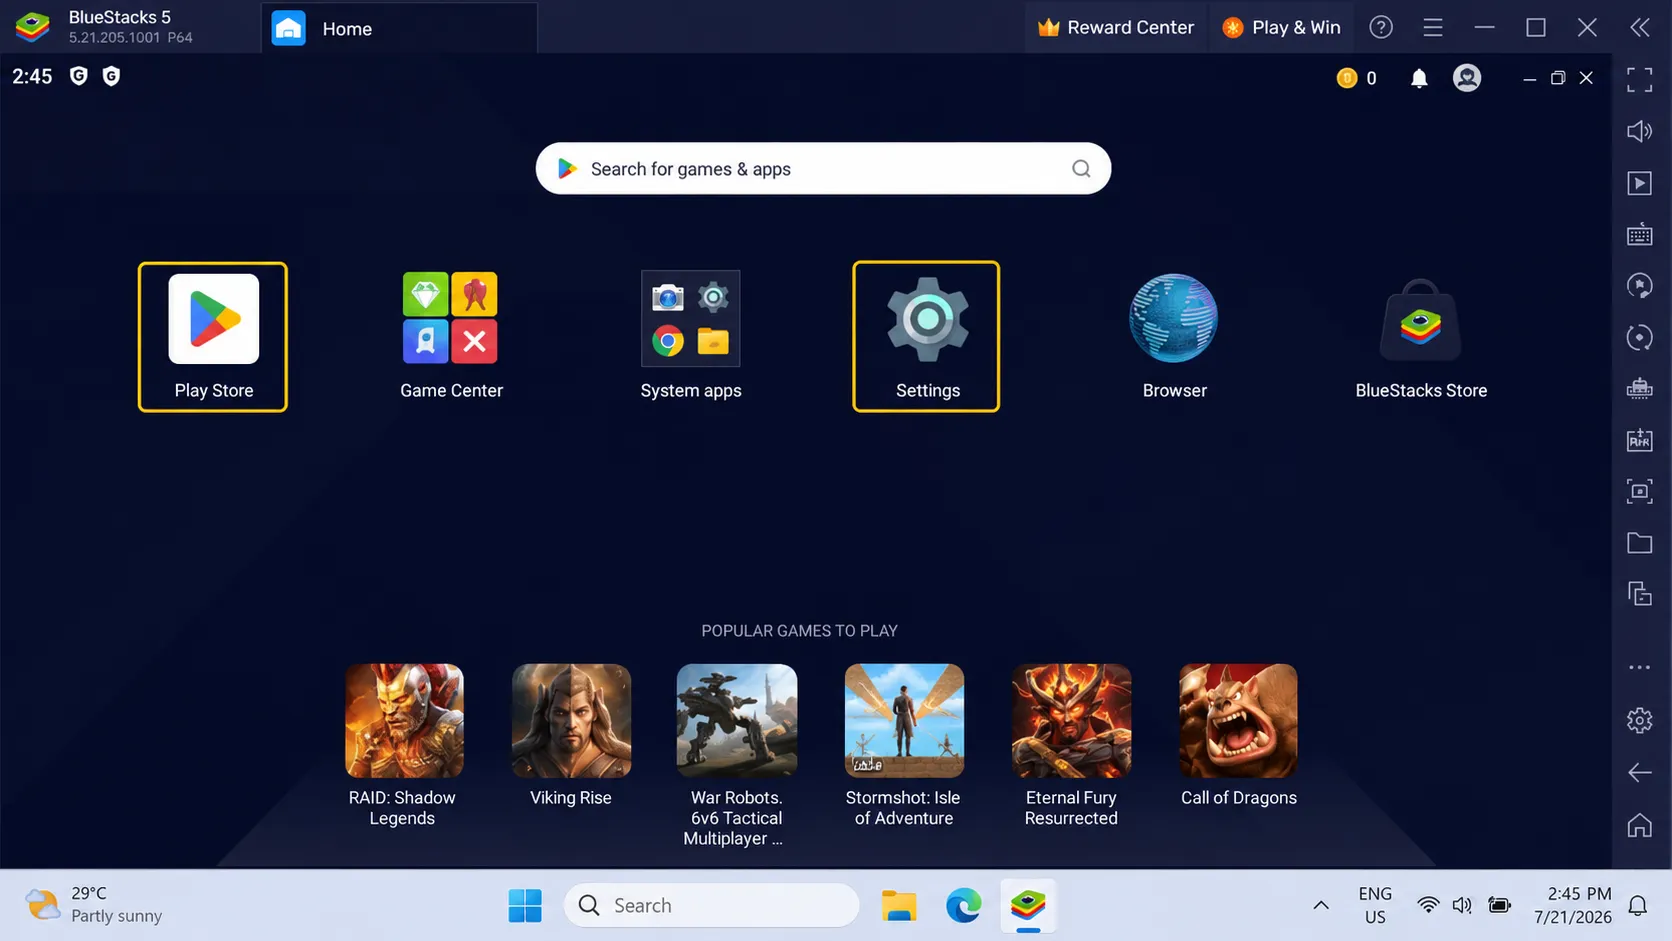
- Step 5. Sign in to Google Play.Open System apps > Play Store, then use your Google account. A separate gaming account limits exposure if the emulator gets compromised.
- Step 6. Install your Android app.Search the Play Store, inspect the developer name, then select Install. Launch the app from the BlueStacks home screen.
- Step 7. Set CPU and memory limits.Open Settings > Performance. Start with four cores and 4GB memory on a PC with 8GB RAM.
Want to install an app missing from Google Play? Verify its package source before loading the APK.
Cloudorian’s APK, XAPK, and OBB installation guide explains those package formats. APK bundles may need a dedicated installer.
Install a trusted APK file
- Step 1. Download the APK from its developer.Prefer the app maker’s website or a reputable archive. Avoid modified packages promising removed ads, free purchases, or unlimited features.
- Step 2. Scan the file.Right-click the APK and select Scan with Microsoft Defender. Upload its hash to VirusTotal when the source lacks a strong reputation.
- Step 3. Install the package.Select Install APK in BlueStacks side toolbar. Choose the file, then wait for its icon to appear.
- Step 4. Review Android permissions.Open Android Settings > Apps > See all apps > App name > Permissions. Deny contacts, microphone, or location access unless the feature needs them.
APK installation bypasses Play Store screening and updates. You must replace the file manually when the developer releases a security patch.
Install supported games with Google Play Games on PC
- Step 1. Check Google’s hardware test.Confirm 8GB RAM, four physical cores, 10GB SSD space, and enabled virtualization. Update your graphics driver before installation.
- Step 2. Download Google Play Games.Get the client from the official Google Play Games page. Run the installer with administrator rights.
- Step 3. Enable Windows Hypervisor Platform if prompted.Accept the prompt, restart Windows, then reopen the client. Windows may need this feature for its virtual machine layer.
- Step 4. Sign in and choose a game.Use the account that holds your mobile progress. Confirm the game supports PC before downloading its files.
- Step 5. Test controls and graphics.Open the game’s control panel and graphics menu. Lower resolution first when frame pacing feels uneven.
Common Android App Problems and How to Fix Them
Emulator failures usually trace back to virtualization, graphics drivers, or the Android architecture. Fix one variable before changing another.
Problem: “Incompatible Windows settings” appears during launch
Cause: Hyper-V settings conflict with an older emulator build, or Windows hypervisor components remain partly enabled.
Fix:
- Update BlueStacks to version 5.20 or newer.
- Restart Windows after the update.
- Run the built-in diagnostic prompt when BlueStacks offers it.
- Confirm Windows Hypervisor Platform matches the emulator’s recommended mode.
BlueStacks says version 5.20 and newer can run with Hyper-V enabled or disabled. Older online fixes may create new conflicts.
Problem: The emulator freezes at 99 percent
Cause: Windows cannot start the virtual machine, or security software blocks the emulator driver.
Fix:
- Confirm Virtualization: Enabled in Task Manager.
- Install pending Windows updates and restart.
- Update the BIOS and chipset driver from your PC maker.
- Temporarily pause third-party antivirus protection during one launch test.
- Restore protection immediately after the test.
Never disable Microsoft Defender permanently for an emulator. A clean installer should not require that trade.
Problem: “This app isn’t compatible with your device” appears
Cause: The app requires another Android version, CPU architecture, graphics feature, or Play Integrity result.
Fix:
- Open Multi-instance Manager in BlueStacks.
- Create a Pie 64-bit or newer Android instance.
- Sign in to Play Store inside that instance.
- Install the app again from its official listing.
- Use the app’s Windows or web version if Play Integrity blocks access.
Banking and streaming apps often check device certification. Do not weaken security controls to defeat those checks.
Problem: Google Play Games reports unsupported hardware
Cause: Your PC misses Google’s CPU, GPU, SSD, or virtualization requirement.
Fix:
- Open Task Manager > Performance and record the CPU, GPU, memory, and disk type.
- Compare those details with Google’s current requirements page.
- Move the client to the main SSD when another drive hosts it.
- Install the newest graphics driver from Intel, AMD, or NVIDIA.
- Use BlueStacks for supported titles when Google’s client rejects the PC.
Tips for Better Performance and Safer APK Testing
Set a resource ceiling instead of giving the emulator every core. Windows needs spare CPU time and memory for input, audio, and background services.
On an 8GB PC, assign two to four cores and about 4GB RAM. On a 16GB PC, start with four cores and 6GB RAM.
Match the display to the app. A 1280 by 720 window often runs better than 1080p on integrated graphics.
Cap games at 60 frames per second before raising resolution. Stable frame pacing feels better than a higher, erratic counter.
Create a separate emulator instance for APK testing. Keep your main Google account, saved passwords, and payment data out of that instance.
Take a Windows restore point before enabling hypervisor features or installing unsigned drivers. The path is Control Panel > Recovery > Configure System Restore > Create.
Check app permissions after every major update. An app can request new access when its feature set changes.
Need to move APKs or screenshots from your phone? Cloudorian’s Android and Windows Quick Share guide gives a direct transfer method.
Remove unused instances through the emulator’s manager. Old virtual disks can consume tens of gigabytes after app updates.
Frequently Asked Questions About Android Apps on Windows 11
Q: Can Windows 11 run Android apps without an emulator?
A: Microsoft ended WSA and Amazon Appstore support on March 5, 2025. Phone Link can stream apps from certain phones. General local installation now needs an emulator or unsupported community WSA package.
Q: Can I install APK files directly on Windows 11?
A: Windows 11 cannot open an APK as a normal Windows installer. An Android emulator can install the package inside its virtual Android system. Scan the APK and verify its publisher first.
Q: Is Windows Subsystem for Android available in 2026?
A: Microsoft no longer distributes WSA through Microsoft Store. Existing copies and community builds may run without Microsoft security updates. Avoid unofficial builds for sensitive accounts.
Q: What is the safest Android emulator for Windows 11?
A: Use a current emulator from its official publisher. BlueStacks offers broad app support and clear Windows 11 documentation. Google Play Games offers a narrower, official path for supported games.
Q: Why do Android apps run slowly on my PC?
A: Disabled virtualization, low RAM, an HDD, or old graphics drivers can slow the virtual Android system. Enable virtualization and use SSD storage. Lower the emulator resolution before adding CPU cores.
Q: Can Google Play Games install every Android app?
A: No. Google Play Games on PC only lists supported games. Use an Android emulator for standard apps, testing tools, or APK packages.
Q: Will Android banking apps work in an emulator?
A: Many banking apps reject emulators through Play Integrity or device certification checks. Use the bank’s website or physical phone. Do not bypass those checks.
Start With the Method That Fits Your App
Use Google Play Games for supported titles and BlueStacks for broader app access. Skip abandoned WSA packages unless you accept their security and maintenance risks.
Confirm virtualization first, then install one test app before moving personal data. Check Cloudorian’s Windows 11 CPU compatibility guide when hardware support remains unclear.
That sequence keeps the setup easy to reverse. It also helps you isolate performance problems before your emulator fills with apps.
Which Android app are you trying to run on Windows 11? Drop its name and any error message in the comments.
Discover more from Cloudorian — Android, Samsung & Windows How-To Guides
Subscribe to get the latest posts sent to your email.